Installing a Mercedes Benz hood pad
Home
About Me
The Hobbies
The Cars
Interesting Links
This project involved installing a new hood pad on the 450SLC 5.0. These pads come as standard on these Mercedes and over time, they deteriorate and fall apart onto the engine.
A new hood pad can be bought for around $60 dollars and I would rate the installation as very simple.
Tools required include the following:
  • Hood Pad -this comes in a pre cut roll
  • Dog - to roll around on the hood pad and flatten it out)
  • 3M Spray glue
  • Scraper -plastic one is good enough as it does not have to be super clean.
  • Extra pair of hands - not compulsory but very handy on these long hoods

First step is to lay the hood pad flat on the floor and let it flatten out.
Next step is to scrape the entire underside of the hood until it is relatively clean.
Lay the hood pad over the engine pay and spray 3M spray glue liberally over the hood pad. You should only spray what you can hold up and not the complete hood pad. I sprayed about 1/3 of the pad and also sprayed the same are under the hood.
Lift the hood pad up and press it onto the hood. This is when an extra paid of hands come in handy as one pair can hold the hood pad up and the other can massage the hood bad and make sure that the hood sticks properly.

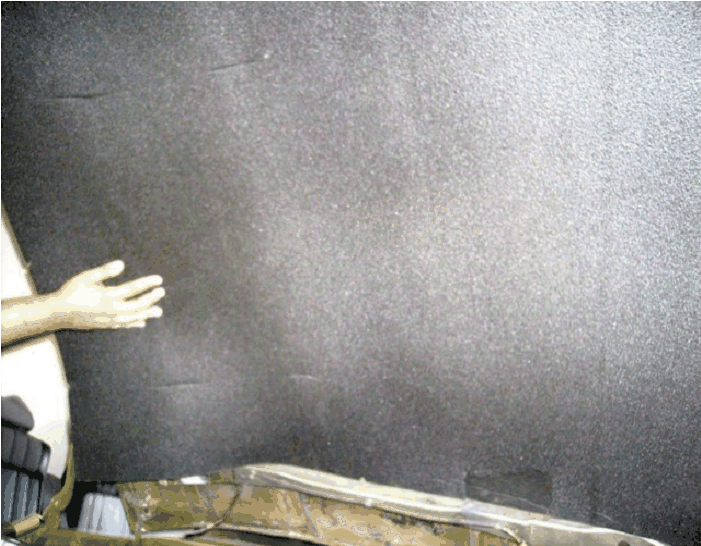
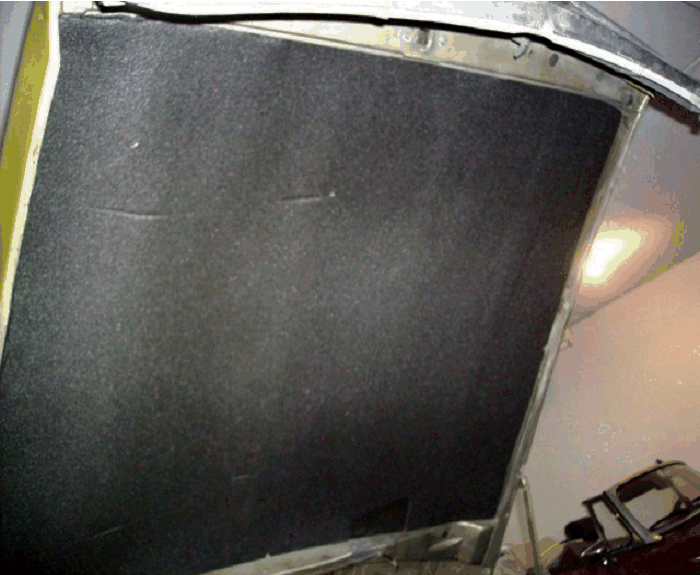
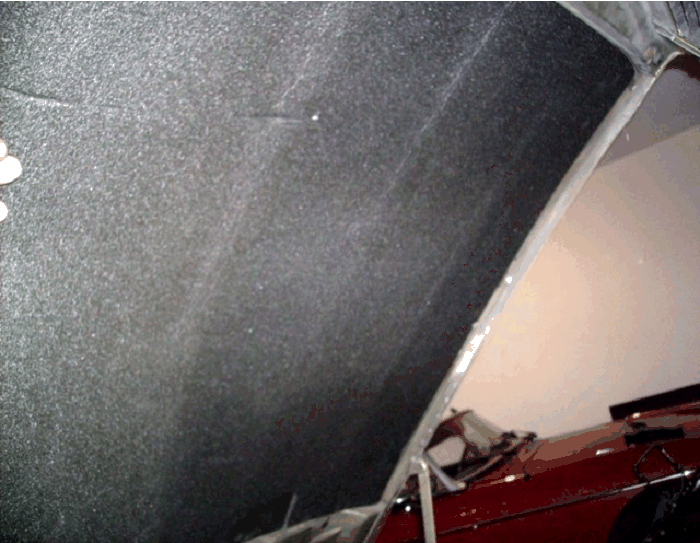
One that section of the hood pad is on and secure, apply glue onto the hood pad and the under side of the hood and massage the hood into place.

At this point you will see low spots, here you will need to pull down the hood pad and apply more glue.

The trick is to constantly move your hands all over the hood pad to make sure that the glue adheres.
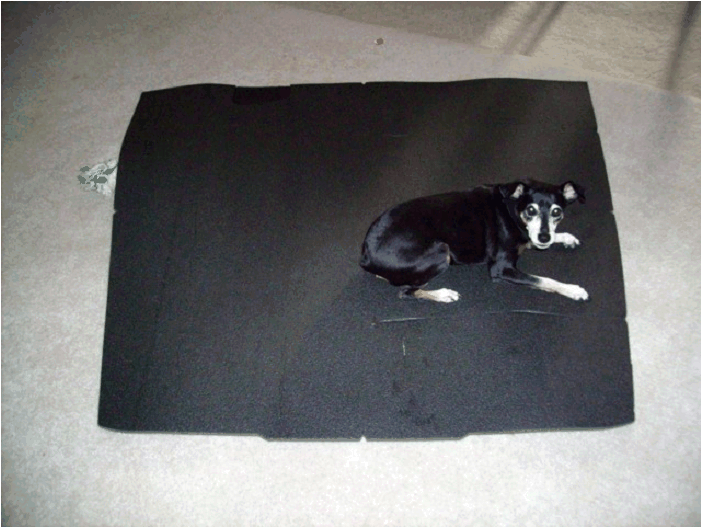
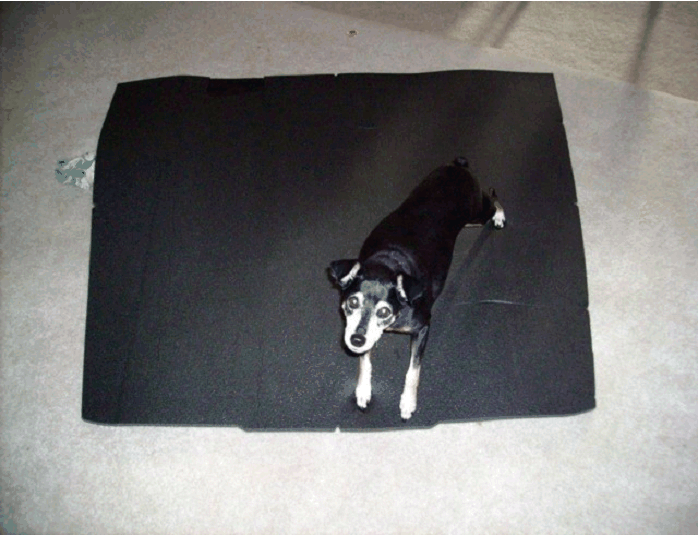
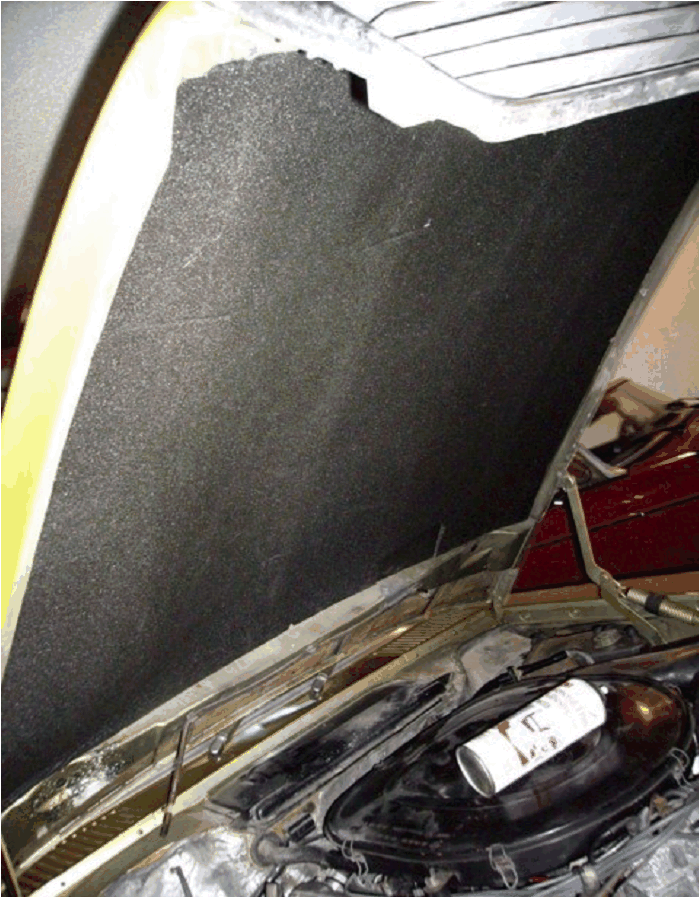
Here is the finished job.


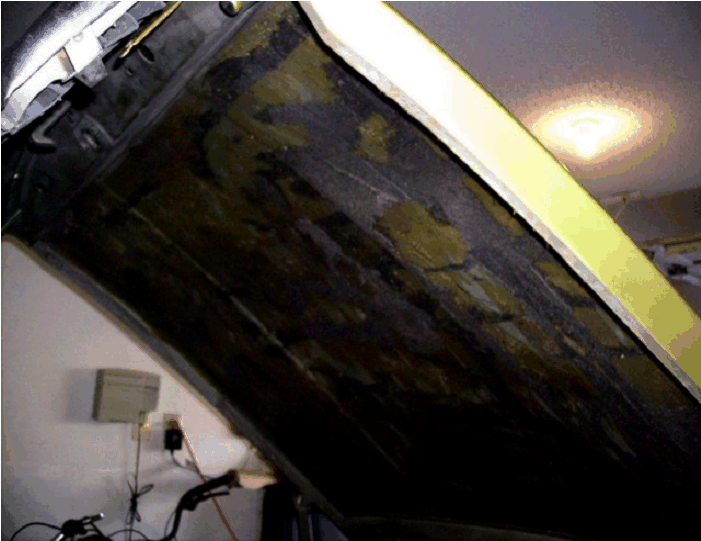
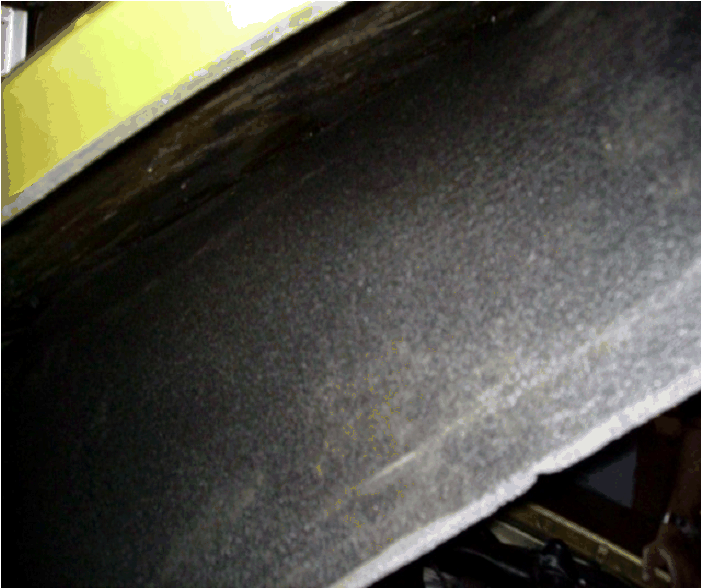
My under hood was fairly clean, which meant that not a lot of effort was required and hence the complete job took no longer then 45 minutes.

I left some flat cardboard boxes under the hood of the car to keep the pad in place until the glue dried.